Showing posts with label craft. Show all posts

Tuesday, May 19, 2015

a Very Hungry birthday

We had a few setbacks, but Harper’s first birthday party was overall a major success. Things didn't exactly go as planned because my grandfather died and we ended up going back home to Kentucky the very same weekend as the party was originally scheduled. So we had to postpone things a bit, but it was alright because I hadn't actually sent out the invitations yet! I was a little behind from the start, to say the least, and I will admit to being a little too overly ambitious in my Pinterest party dream-world. And when we decided to change the venue to an entirely different state at the very last minute, well, everything else pretty much went out the window from there.


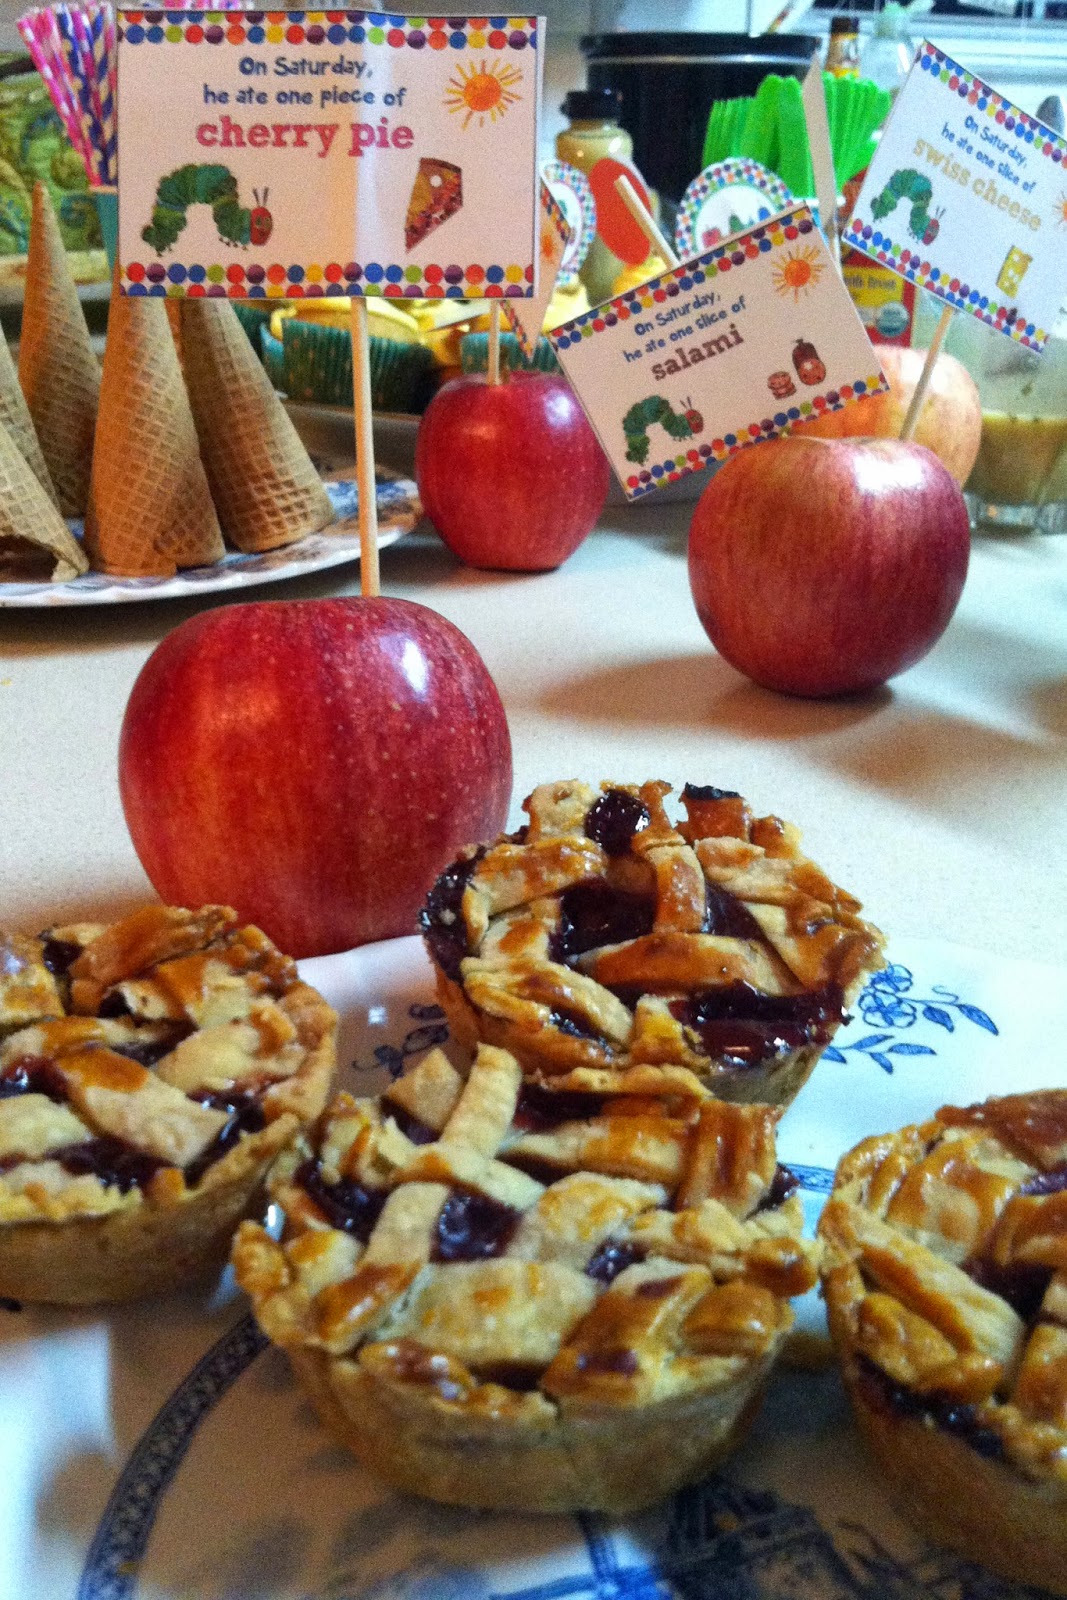
I decided, of course, to do whatever I could by hand, but the copyrighted images and text I just didn't have time to scan in and format myself. I saved myself countless hours of tedium by purchasing a downloadable package (or really combination of two packages) that included all the signage, invitations, thank you cards, various label-making materials, and a pattern for a pennant banner that I had wanted to make anyway. Again, this saved a ton of time and was definitely worth every penny of the $17 price tag.  If I had InDesign on my computer I might have tried to do it myself, and then I might have actually lived up to my dream of being the world’s first perfect mom. But that shit is just too hard on Microsoft Word. I’m pretty sure Harper didn’t know the difference. And the invites were adorable, and I even splurged on the little food labels with quotes from the book for each individual food.

One thing I did make myself was the birthday board, a piece of plywood that I had Mack sand down and cover with chalkboard paint; then I wrote on it with those chalk paint markers that restaurants and coffee shops use to write out menus. These go for upwards of $100 on Etsy, so this one was definitely worth the DIY. We also didn't want people bringing gifts since I knew she'd get enough from grandparents anyway, so we asked for donations to the local food bank, which we collected in a box I covered with wrapping paper.


 Other DIY projects I could have spent a ton of money on included the 12 month caterpillar banner (thank goodness for this one and the justification it gave me for all those monthly photos all year !)...


...these quick curtains which added a little childish flare...
 ...and, of course, plenty of balloons.


 There were a few fun craft projects, which mainly entertained the adults (mainly myself).

The food consisted of everything the caterpillar eats in the book. This was one of the primary reasons why I chose a Hungry Caterpillar theme—I thought the menu would be easy to plan and relatively cheap. The last part turned out to be a major disappointment to the tune of almost $300; just ask my mom. Thanks, Grandma.


I actually had guests helping hang up the decorations and put out the food as they arrived because we were so busy doing everything that morning! I guess it takes a village to throw a picture-perfect fantasy Hungry Caterpillar birthday party for a one-year-old.


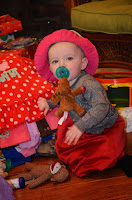
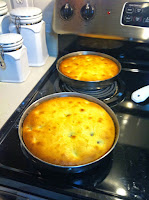
 Everything was so last minute with the changes that I was way behind and didn't get to decorate the cake the way that I wanted to. But it was still delicious--lemon with raspberries inside and cream cheese frosting.  One thing I did ahead of time, though, was make an adorable outfit for Harper to wear for the cake smash. I've been to enough one-year parties to know that you have to have a back up for that super adorable and super expensive dress you bought for your adorable little princess. This one was easy. I made a copy out of the Hungry Caterpillar book that I printed onto iron-transfer paper for Harper’s cakesmash outfit, then just sewed a little tutu we had onto the onesie. It was pretty cute and saved the nice birthday dress I had bought her from certain ruin.


 Did I mention Grandpa came all the way from South Carolina?


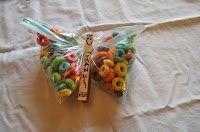
We did make favors, but there weren't really any kids there because of the venue change and short notice. The only other baby was Harper’s cousin Sean, but he forgot to take his, probably because I forgot to tell his mom it was there.


If you’d like to see more pictures, please check out my Pinterest board. In all it was a wonderful day and I know my grandmother had a blast. She passed away herself in March, so it was wonderful to have had the time together with her and Harper, my mom and myself.

back on the wagon...the Radio Flyer, that is

Well it's been a while since I posted and I have to say it's been a well-needed break. A break from nothing, really, since the blog itself never exactly got under way in the first place. But a break from thinking about life to just enjoy it, the kind of break that demands itself because you can't turn away from whatever the distraction is. I started this blog as a way to keep track of the DIY and craft projects I was working on for our wedding. That got way out of hand, and I barely had time to finish everything before the big day, much less blog about it. The wedding turned out to be beautiful:
But with Harper coming along so quickly after that, our first months as newlyweds were spent getting ready for her. Considering we brought her home from the hospital on our six-month wedding anniversary, the first 18 months of her life have been a relative blur of sleepless, drool-covered nonsense and we are only now beginning to get our feet under us. I have a serious backlog of projects to write about, so it’s my goal to whip this blog in shape and make it something worth reading again (or in the first place).
It's summertime, folks; let's get excited.

I'll definitely have a post to come on some of the highlights from the wedding projects. But mostly the goal here is to document the projects that I'm already working on for Harper as she grows in to a beautiful, intelligent, and active little girl. I also have a few essays on motherhood I’ll be posting as well, along with recipes, general material worth considering, etc. You can definitely look forward to a backyard water park and some baby-Ninja Warrior obstacles in the near future. Hopefully this will give my Facebook page some relief, as well, since I've been using it like a blog and that's not really what it's for. And I hope too, of course, that those of you out there will find it somewhat useful, entertaining, or at the very least a shameless way to spend your brief moments of respite between butt wipes and stop lights! But seriously, please read, but not while you're driving. There's kids out there on the road.

Thanks for stopping by.

~Amy

Friday, July 13, 2012

Monogrammed Magnets!

One of the very first projects I took on for my wedding was to make monogrammed magnets as small favors for the reception. I've known for a while that I want to have several favor options, and this seemed like a quick easy project to get my feet wet toward all the wedding craft projects swimming around in my head. Plus, it was kind of a no-brainer given the large amount of bottle caps that had begun to amass in the utility drawer where my fiance and I keep our bottle opener. It seemed like a good way to assuage some of his annoyance at my refusal to throw them in the trash. The first step was to find all the good ones. I was looking for caps that weren't bent from opening, were clean, and didn't have stickers on them. I also tried to choose caps from beers my fiance and I actually like. At this point we're working toward a final guest count of about 130, and amazingly (or not) I had no problem finding enough caps to do the job.
 The next step was to print the monograms. I chose a simpler version of what we're going with for the invitation, but in the same style. It came from my favorite wedding craft book, Handmade Weddings by the girls over at Hello!Lucky stationary, from an image I scanned and isolated off of their Modern Classic Wedding invitation template.  I simply printed out thumbnails (you can get about 35 per sheet) and then cut them out by hand. I've heard that you can very easily head over to the craft store and purchase a 1" paper punch to do the job much quickly, but it seems like that's the easy way out. 
 Once all the circles were cut out, I had to water-proof them so that when I sealed them in the caps the ink wouldn't run. There's a couple of ways to do this. At first I tried Mod Podge. This worked, but it was very difficult and time consuming considering I'd already cut all the monograms into 1" circles. If you're going to go this direction, which I'd only suggest if you have a gross amount of excess Mod Podge on hand, I've found that aluminum foil is the best surface to work on, since Mod Podge is glue and pretty much sticks to everything, as it obviously should. However, even better than the Mod Podge option, I've found, is to simply use packing tape. It's cheaper, faster, cleaner, and yields a much clearer seal on the monogram.
Anyway, I then got all of my materials together for the next few steps so that I could set up an assembly line. I needed all of the monograms sealed on both sides, the caps, glue, and a role of adhesive magnet tape. 
Then, it was time to start gluing the monograms inside the caps. At first I used super glue, but I've since learned that hot glue actually works better. It's important to use a lot of glue to cover the inside of the cap, so that there are few air pockets when you finally fill in the sealant.

Once the monograms are glued in, it's a good idea to go ahead and put the magnets on the back so that you don't have to mess with it once the sealant goes in. If you're worried about the magnets holding up a lot of weight then you probably want to spring for the more expensive 1" disc magnets, but if you're like me and trying to be as frugal as possible, then the best way to go is just a roll of the strongest 1/2" self-adhesive magnetic tape you can find. Then, it's easy to cut it into as many small squares as you need for each cap and stick them right on.

Once the caps are assembled with the monograms sealed and glued inside and the magnet secured to the back, the only thing left is to fill the magnets in with a clear resin. I've heard that casting resin will work and it's probably the cheapest route, but I found this cool product called Mod Podge Dimensional Magic, and I think that it was the best thing to get the look that I was going for. It creates a really nice seal that makes the magnets look finished. The best way to avoid bubbles is to fill the caps slowly, tapping the monogram with the nozzle to jiggle any of the air out.
It takes a really long time to dry...watch out for bubbles!!!
Once they dry overnight you're good to go!
For very little material cost (really only the Mod Podge sealant if you have a printer and packing tape already, and drink a lot of beer) you've got a nice momento for your guests to remember your special day. At the reception I'll probably display these by wrapping a cookie sheet in some nice satin fabric and then just sticking them on. If you have any questions about this process please don't hesitate to ask!!! Good luck!